Kenwood TK-880 receiving radio for repeater
In addition to playing with amateur radio, I also host a GMRS repeater mostly for keeping in touch with my family around the neighborhood. I had been using a Baofeng 888s plus as the receive radio but it has a pretty loose front end and is generally quirky. It was a great learning experience and I didn’t mind butchering a $10 radio for the project. The 888s has a pad on the board for the tone operated squelch and it was easy to add a few resistors to the line level audio output circuit to make a good impedance match to feed the TX radio. Unfortunately the front end in this thing just wouldn’t keep up and after only a few months it started to get really unstable. Since upgrading my TX radio to a Kenwood TK-880H I had the lower power TK-880 sitting on the bench doing nothing, so I’ve decided to employ it as the receive radio. You could use a KCT-19 cable to easily make these connections but they are becoming hard to find and can cost anywhere from $15-$40 when you can find them. With some scraps of wire, a soldering iron and a few minutes of your time you can make the same connections to the radio.
Wiring:
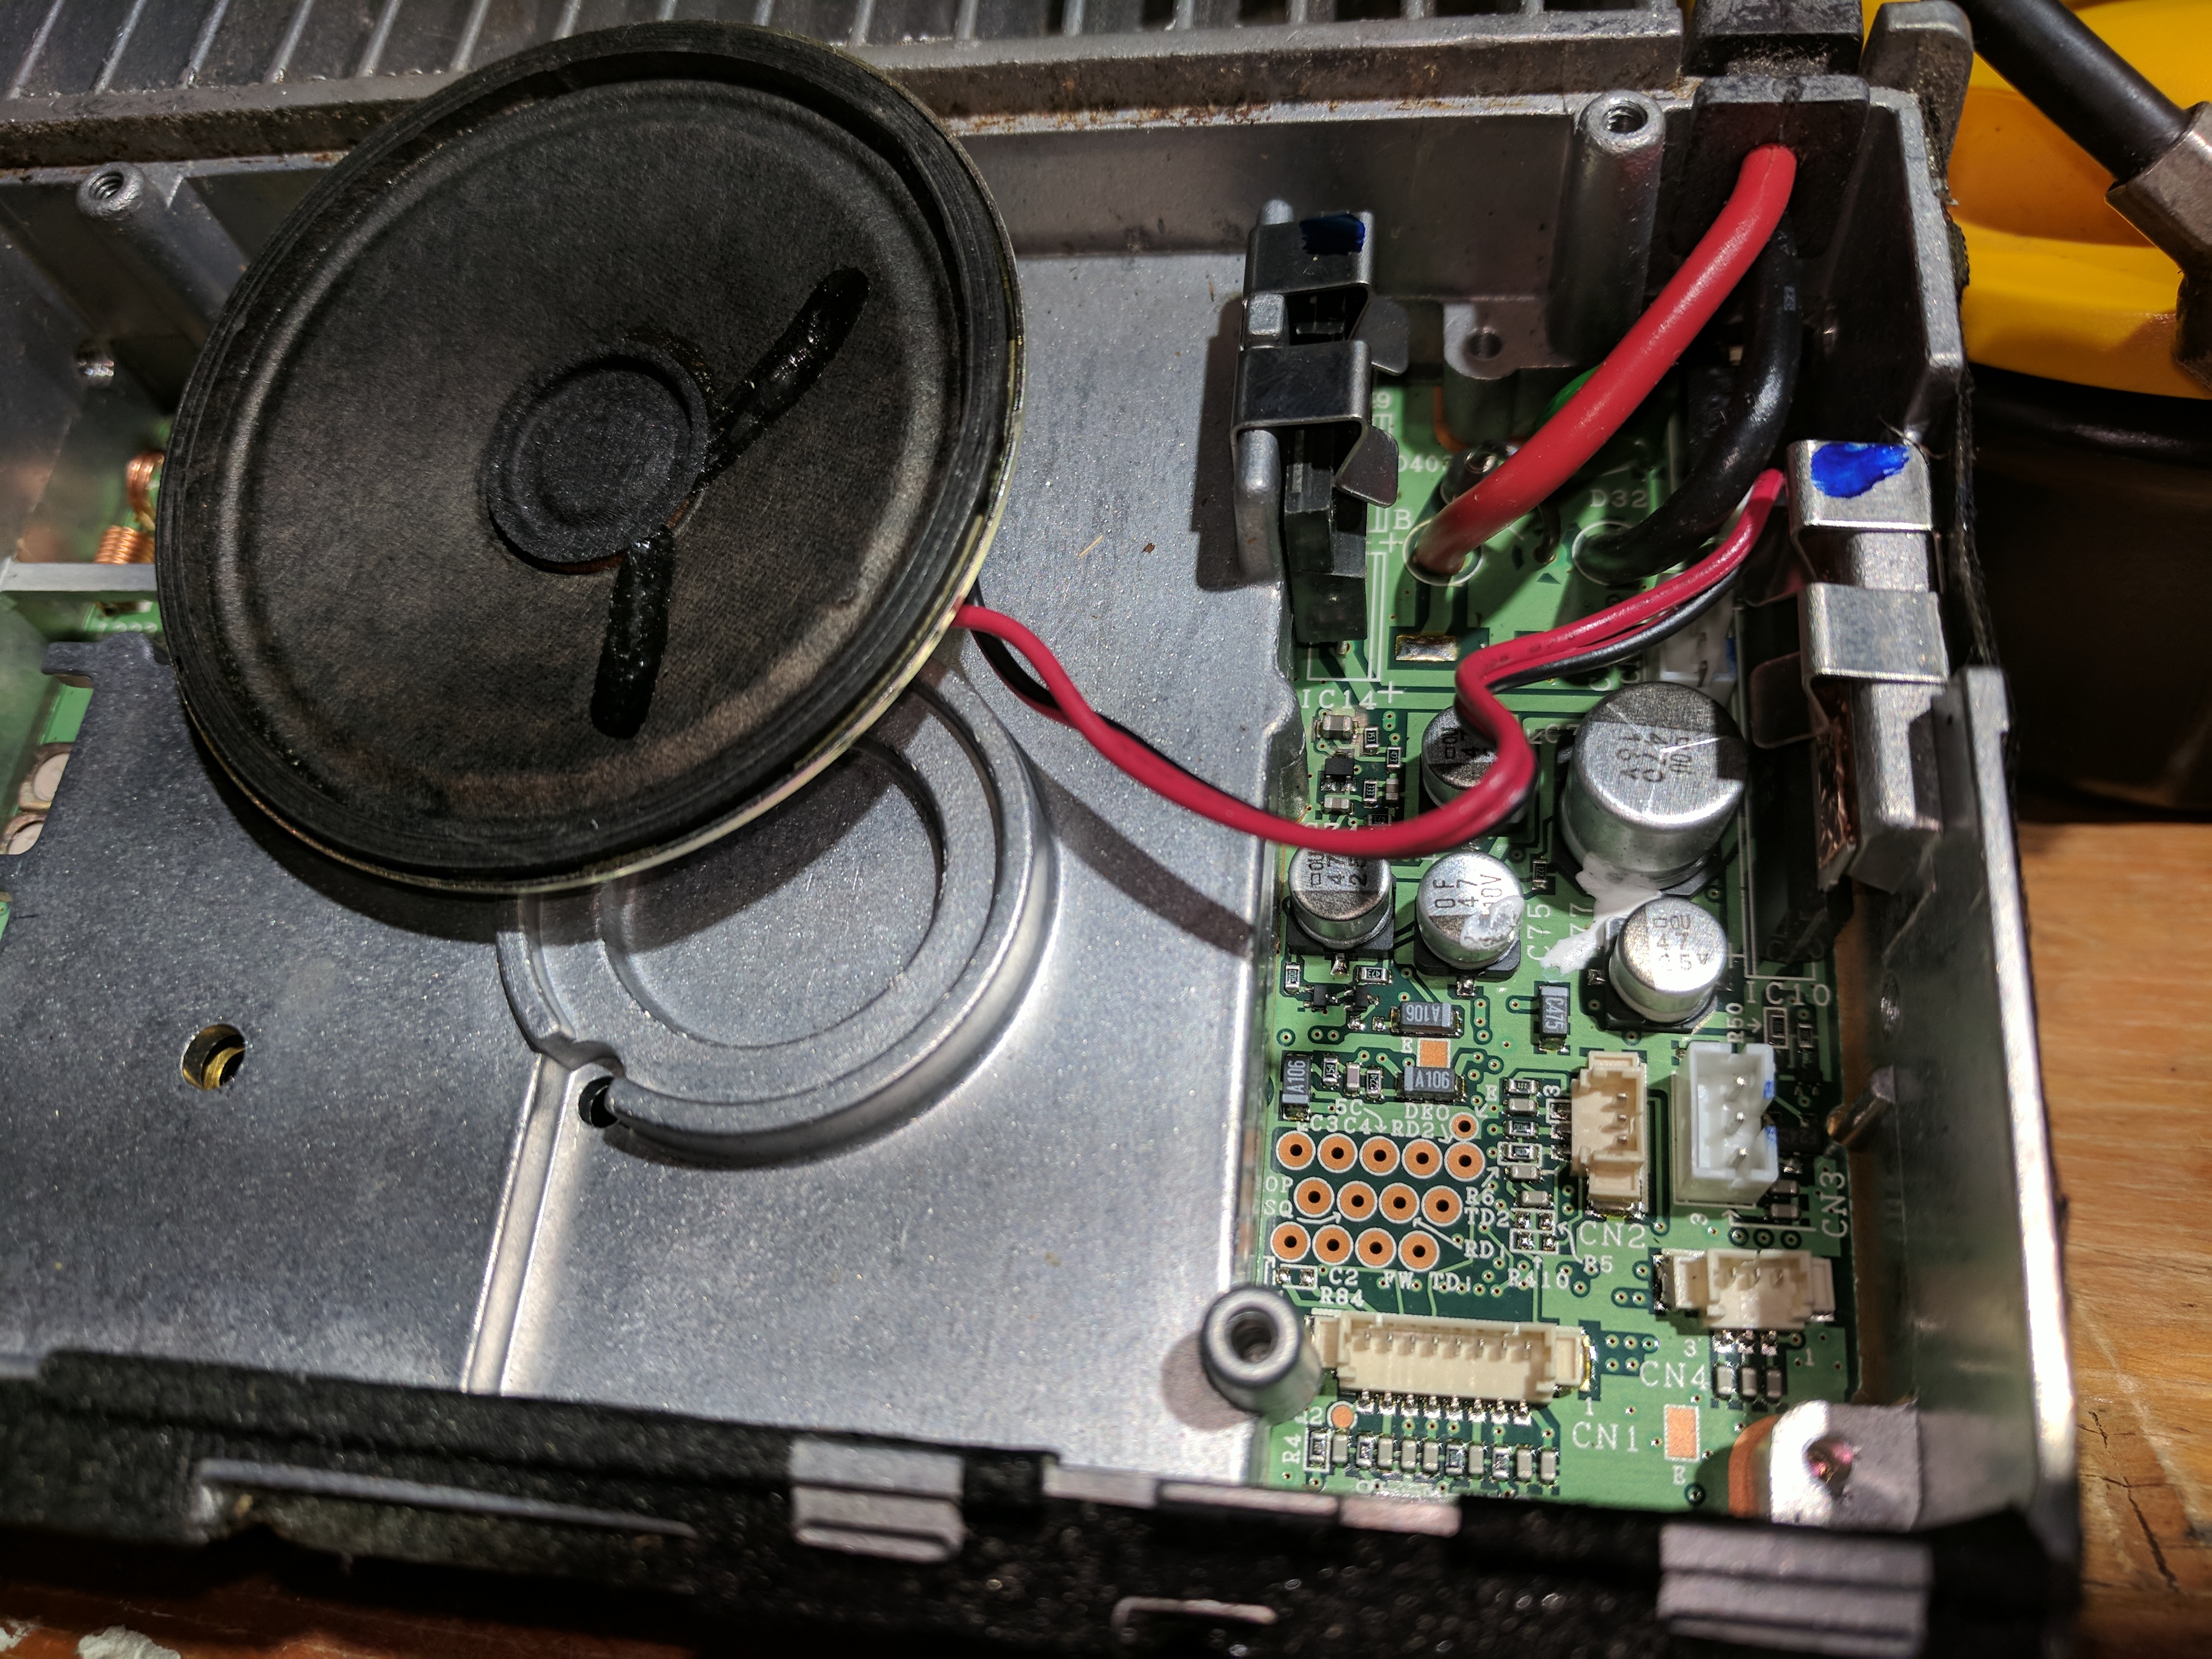
1st, I took both the top and bottom covers off of the radio and also removed the front face plate to clean up all the gunk and grime. You really don’t need to pull the face off to do this, but while it was apart I figured I’d go all in. Right behind where the ribbon cable connects the front panel to the main board of the radio you’ll notice several unused through hole type solder pads. We’ll need to make a connection to 2 of these for our project. The DEO pad will give us our line level audio output and the SQ pad will give us our COR/TOR line to control the keying of the TX radio.
Next, I prepped a length of 18 gauge single strand copper wire I had lying around. I believe it was leftover from my garage door opener install from a few years ago. Strip about a 1/4″ to 3/8″ of wire and tin with a light coating of solder.

Insert the 2 wires into the DEO and SQ pads from the component side of the circuit board. I put a little bend in the wires to help hold them in place. If using stranded wire a small piece of tape should be able to hold them in place while we work. Flip the radio over and use a tiny bit of thin solder to make the 2 connections to the board.
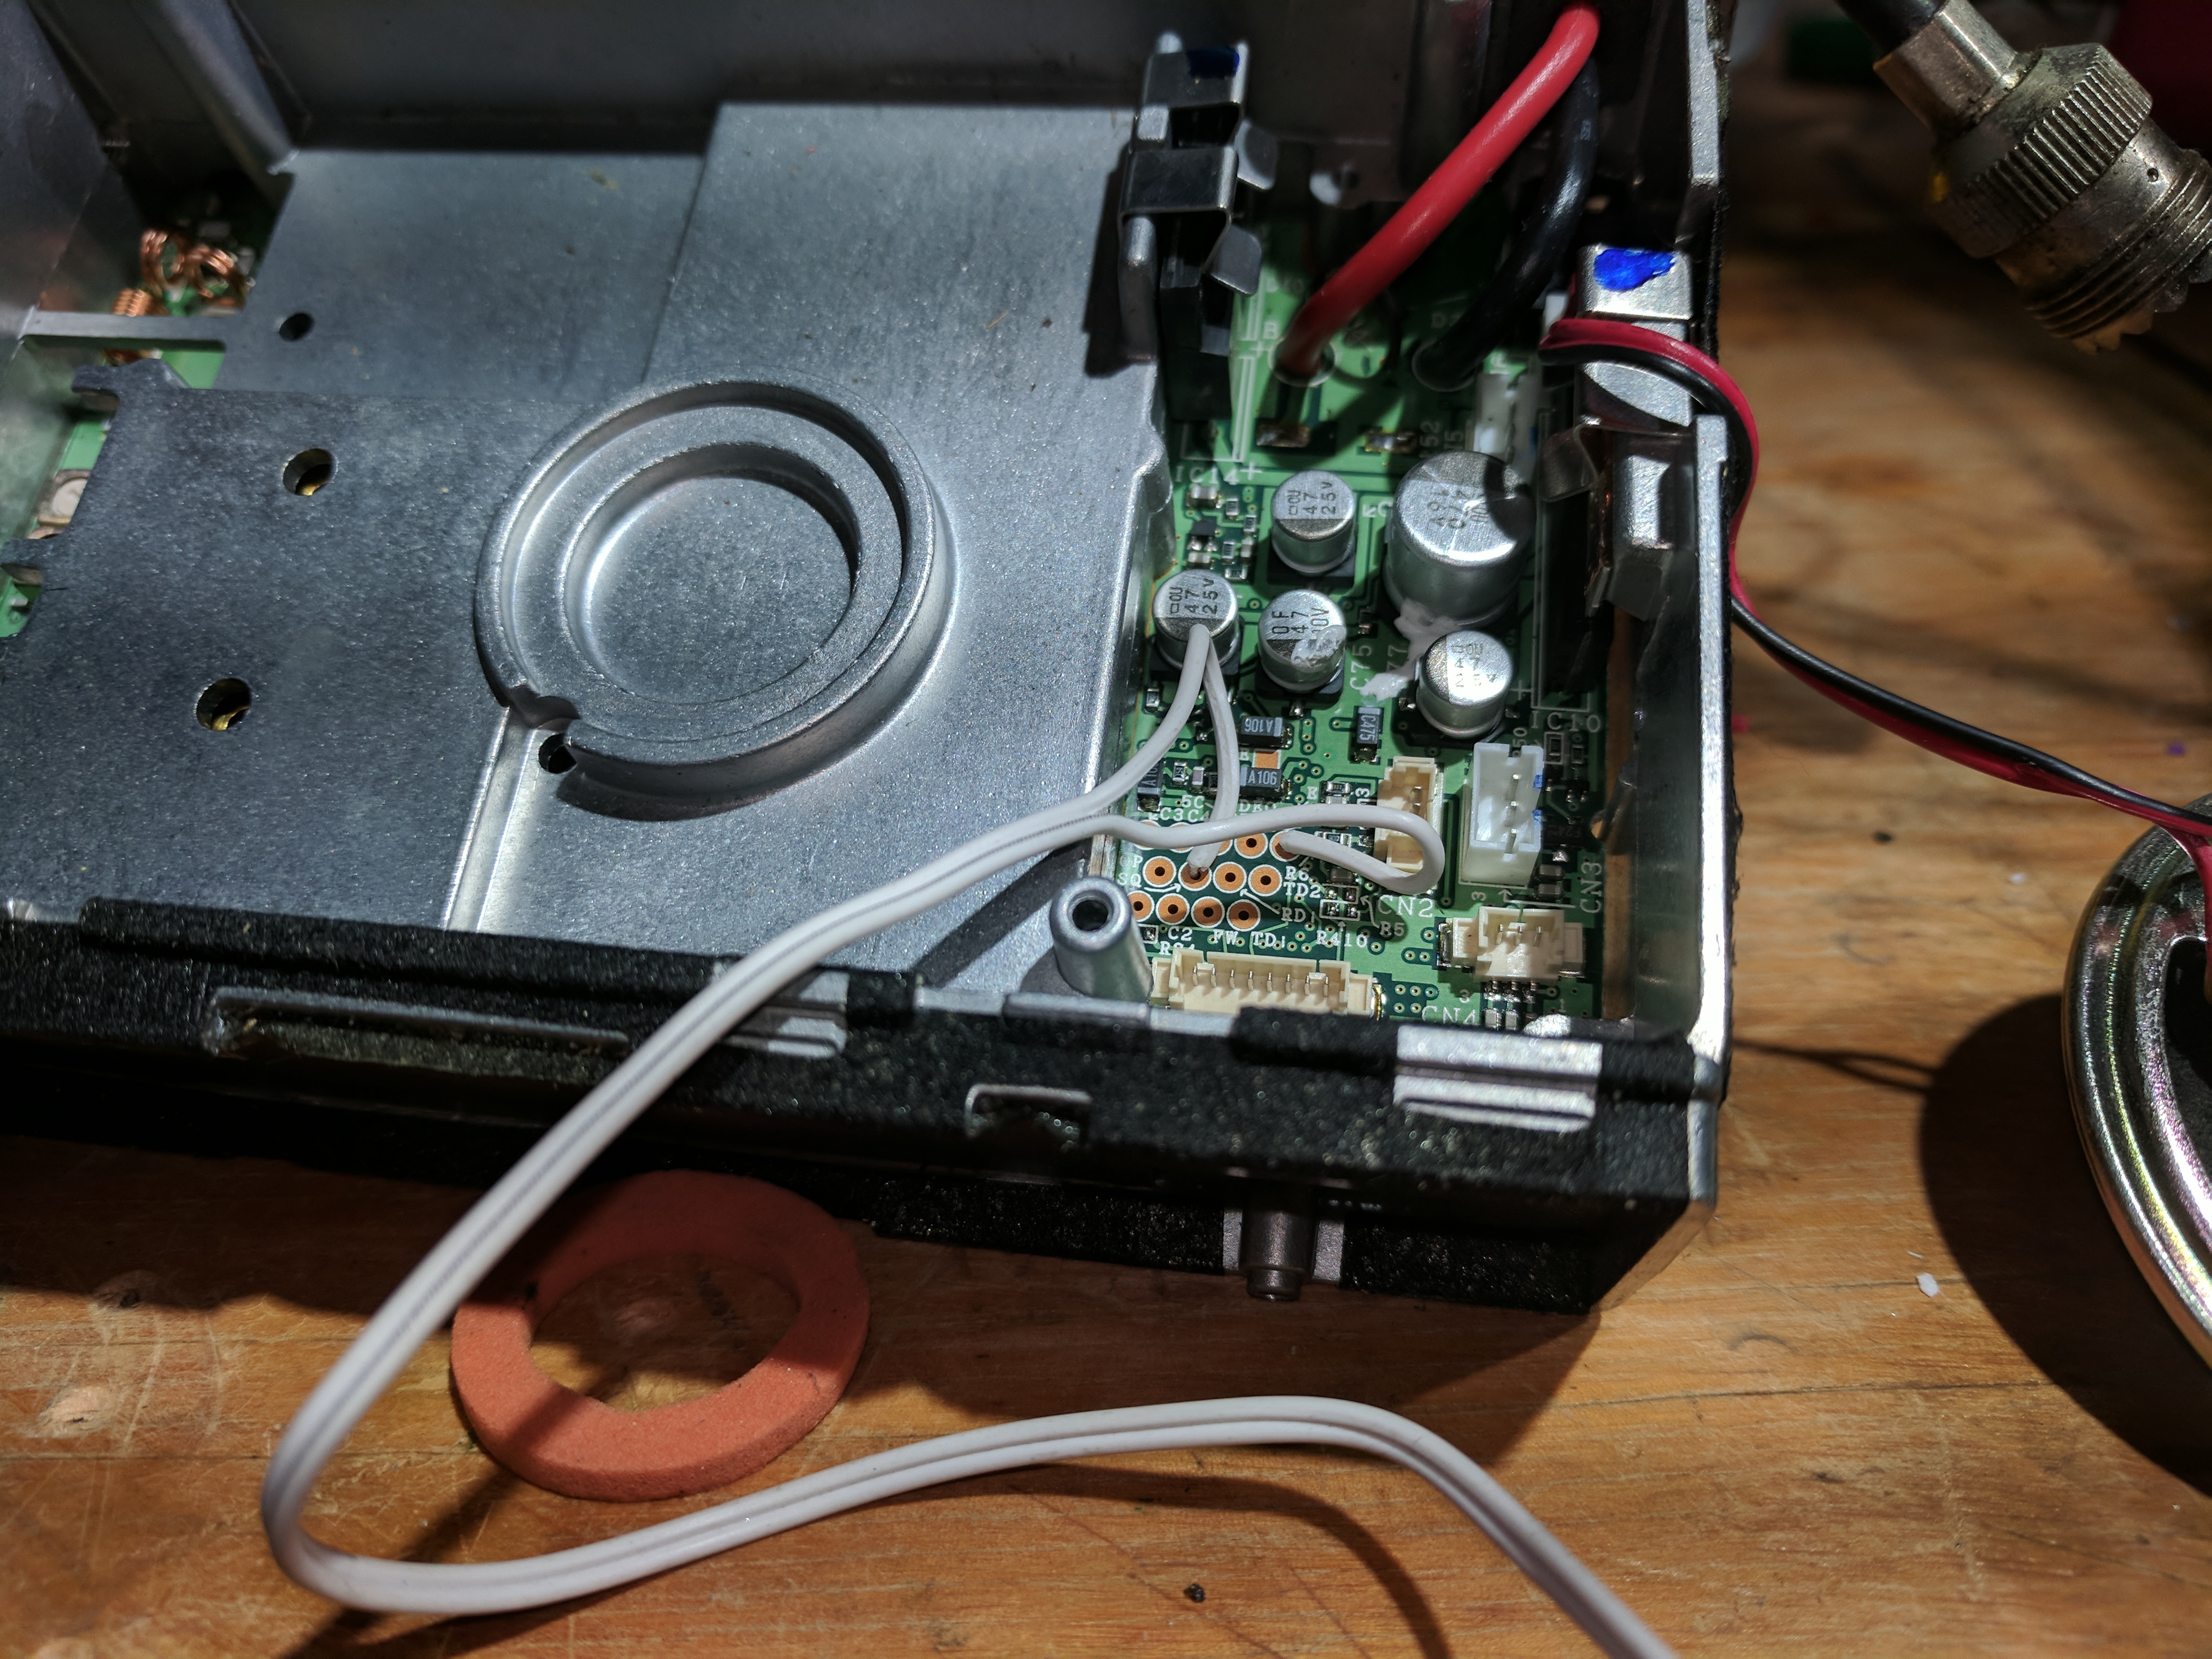
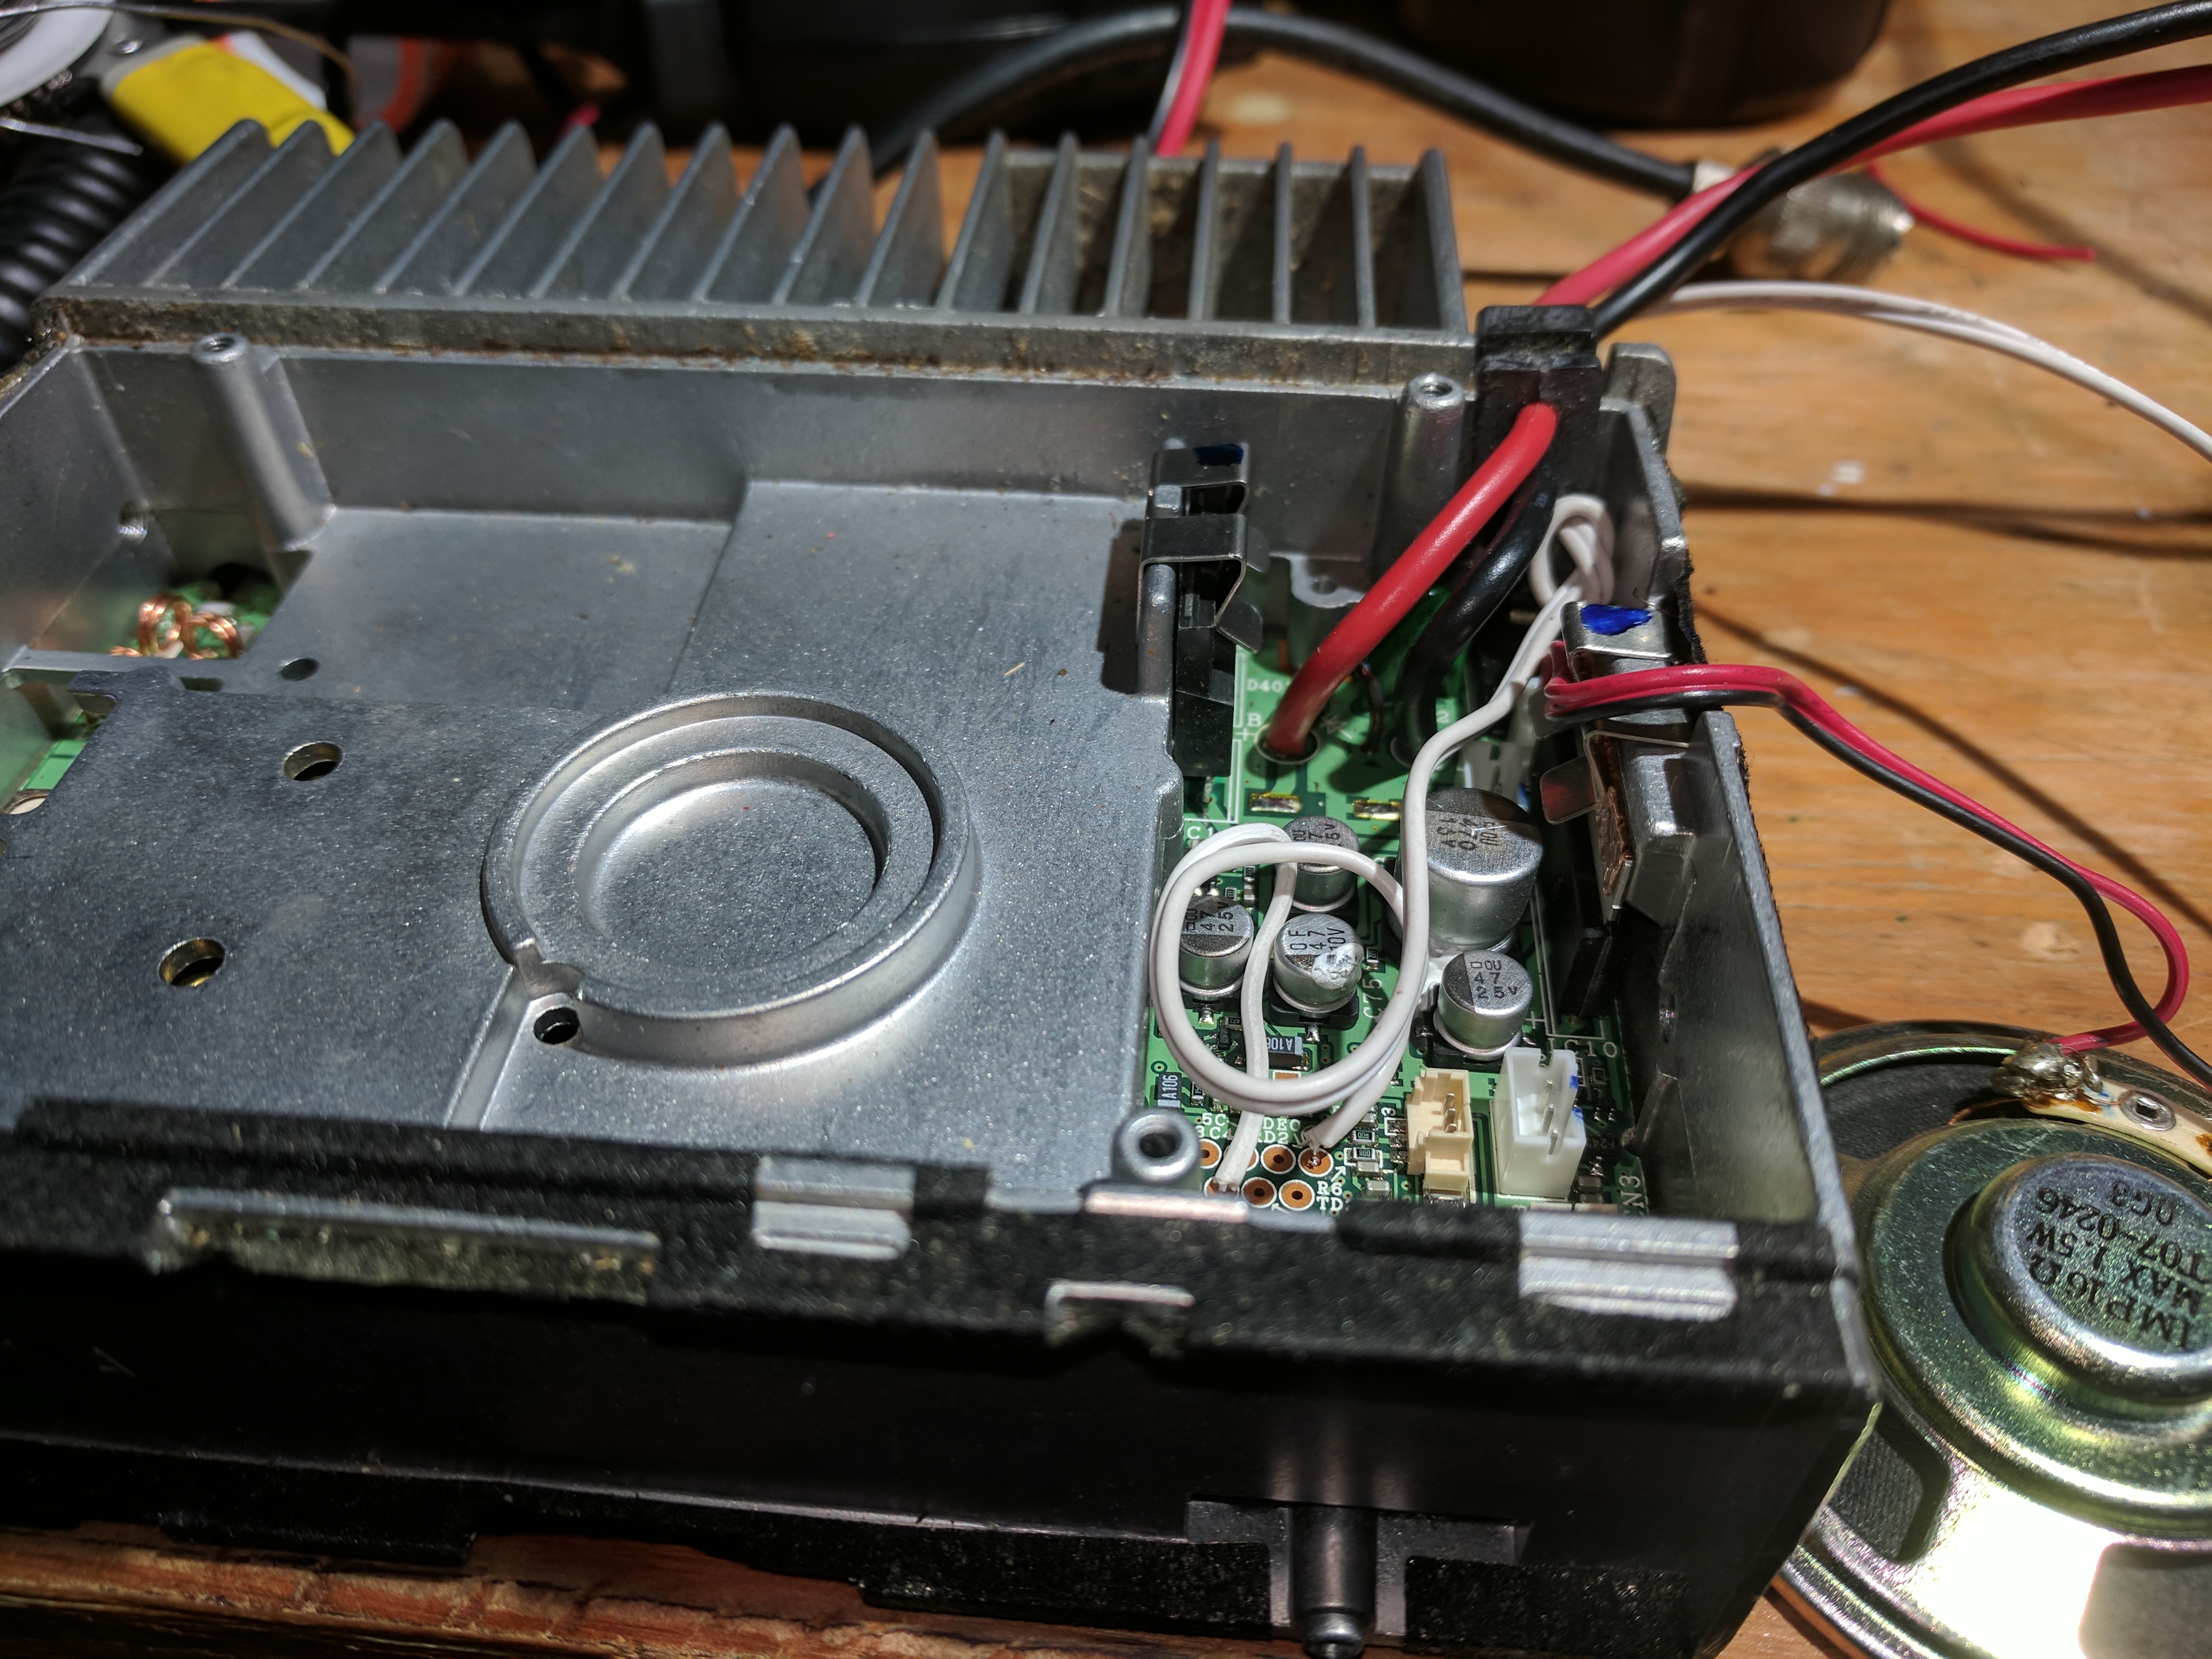
Flip the radio back over and make a little service loop where the wires connect to the board and tie a loose knot in the wire. Pull the bushing that holds the power wires up and put your 2 new wires into the groove. Slide your power wires back in and pull the new wires from the outside of the radio until the knot is flush with the back of the case. This will prevent us from ripping the wires out accidentally.
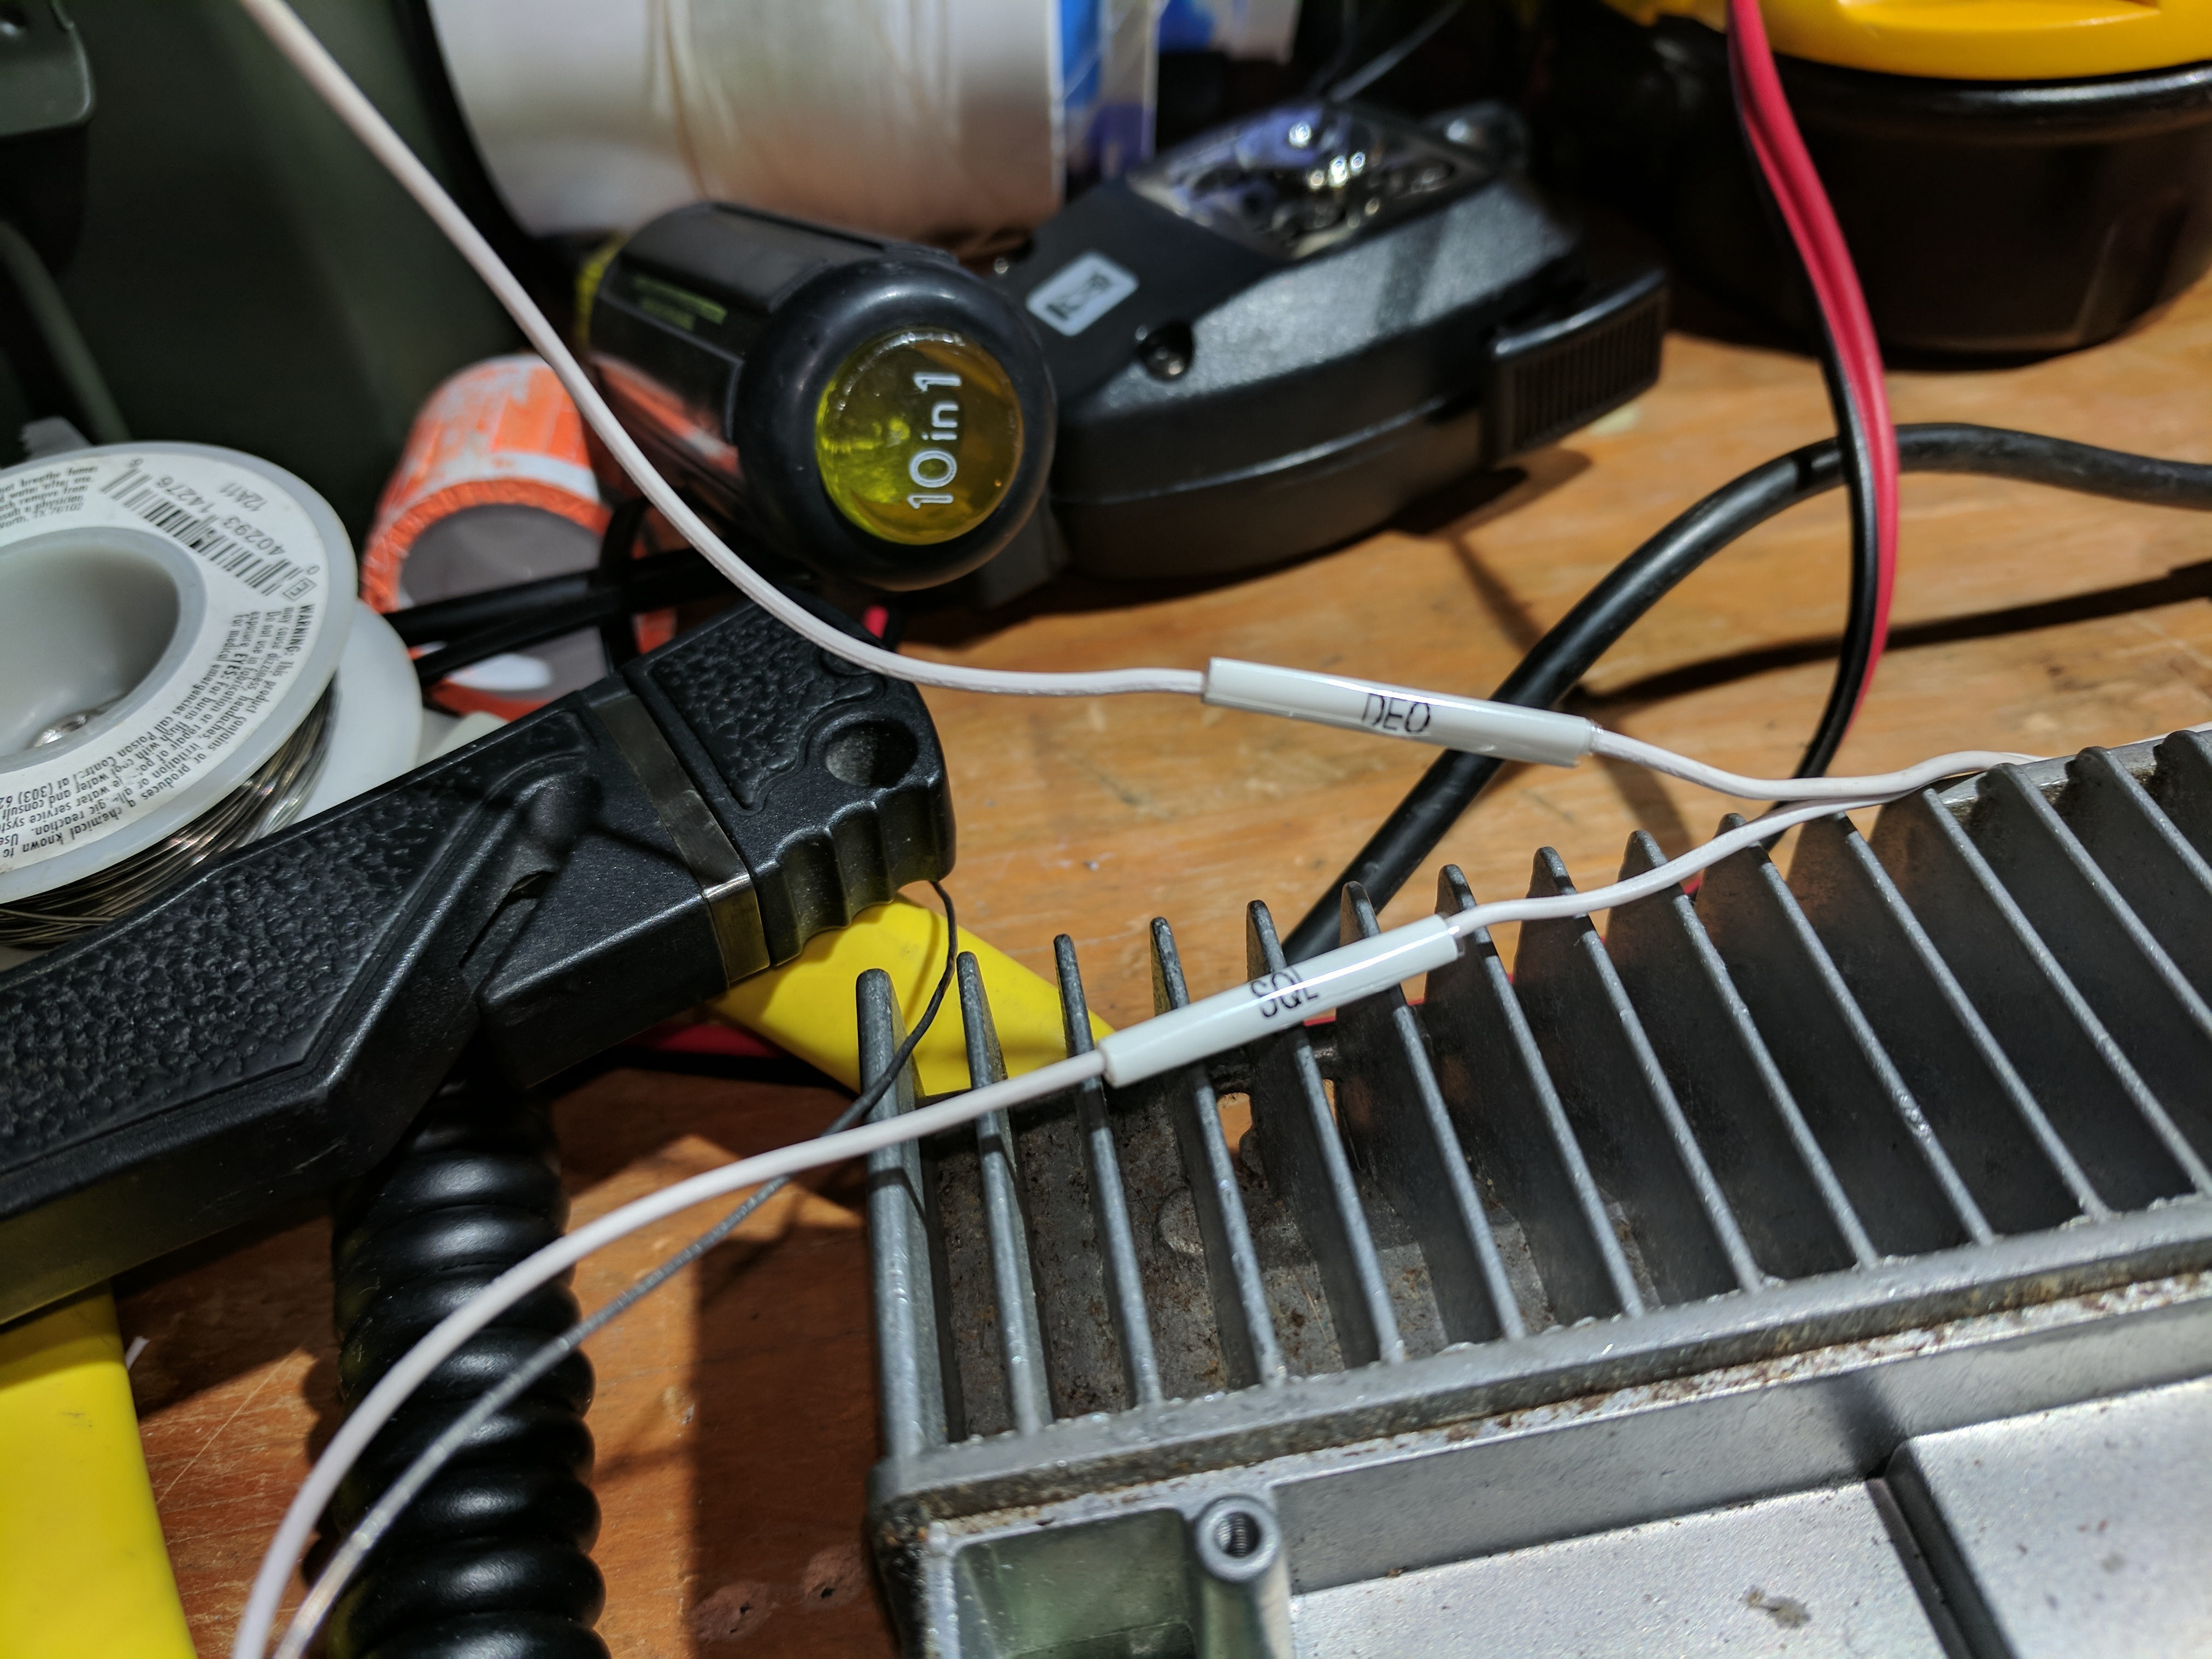
Label your wires. Or use different colored wires or whatever you need to do to tell them apart. Reassemble the radio and we’ll move on to programming.
Programming:
The programming below is for inter-operating with an ID-O-Matic IV controller. Settings may vary depending on the signal your control board is configured to receive. If your keying circuit operates in reverse (keyed when no signal being received and no key upon receiving signal) you may have to reverse the polarity on your controller or the radio (active high vs active low).
Load up your trusty copy of KPG49D software and connect your programming cable. The cheap $10 to $15 6 or 8 pin aftermarket USB cables work great. Yes, the older 6 pin cable from the TK-x40 series radios work just fine in the newer 8 pin Kenwood radios.
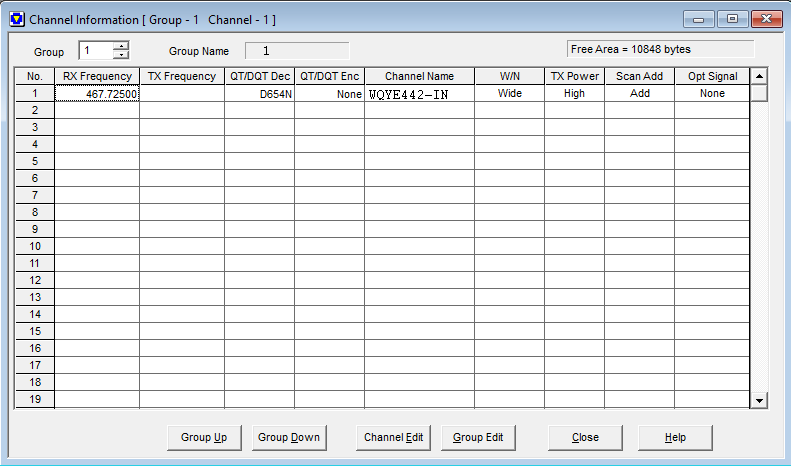
Configure your receive frequency, squelch tone and channel name.
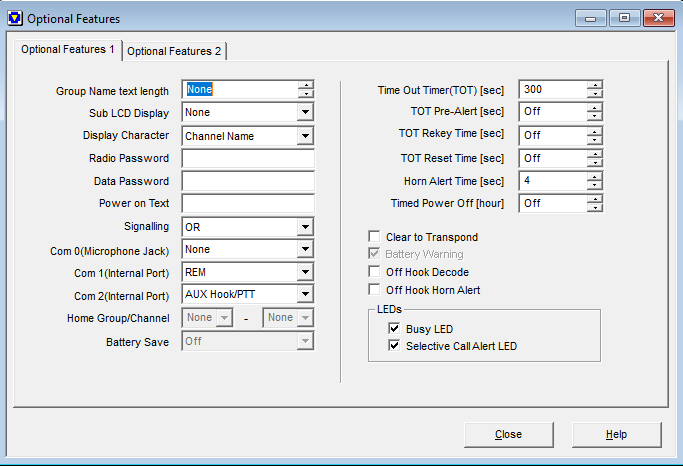
Under optional features 1 make sure your signaling is set to OR, com port 0 is set to none and com port 1 is set to REM.
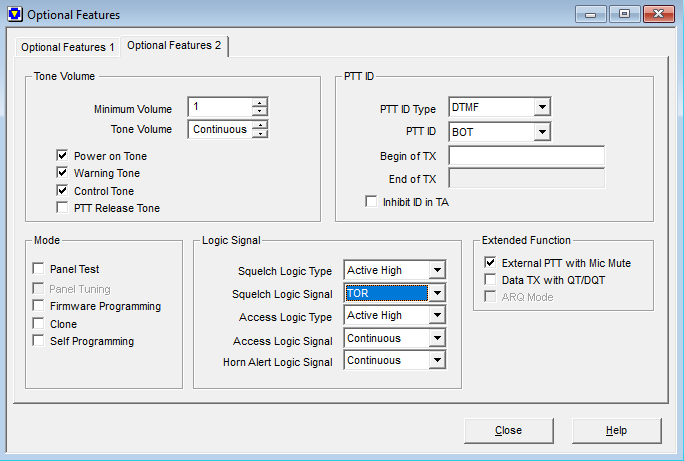
Then for optional features 2 under logic signal configure whatever squelch logic type works with your controller. The squelch logic signal of TOR (Tone Operated Relay) will only key your transmitter when the proper PL or DCS tone is received. Set this to COR (Carrier Operated Relay) if you have no receive tone configured and you wish to key your repeater whenever anything is received on the programmed frequency.
That’s it! Upload your programming and you should now have a functional receive radio for your repeater.
Good luck and 73,
N0KEG aka WQYE442